Get caught up to this step: Check out branch 04-create-notes - see Introduction for info on how to get caught up using branches.
Step 5: List Notes
Add a List Component
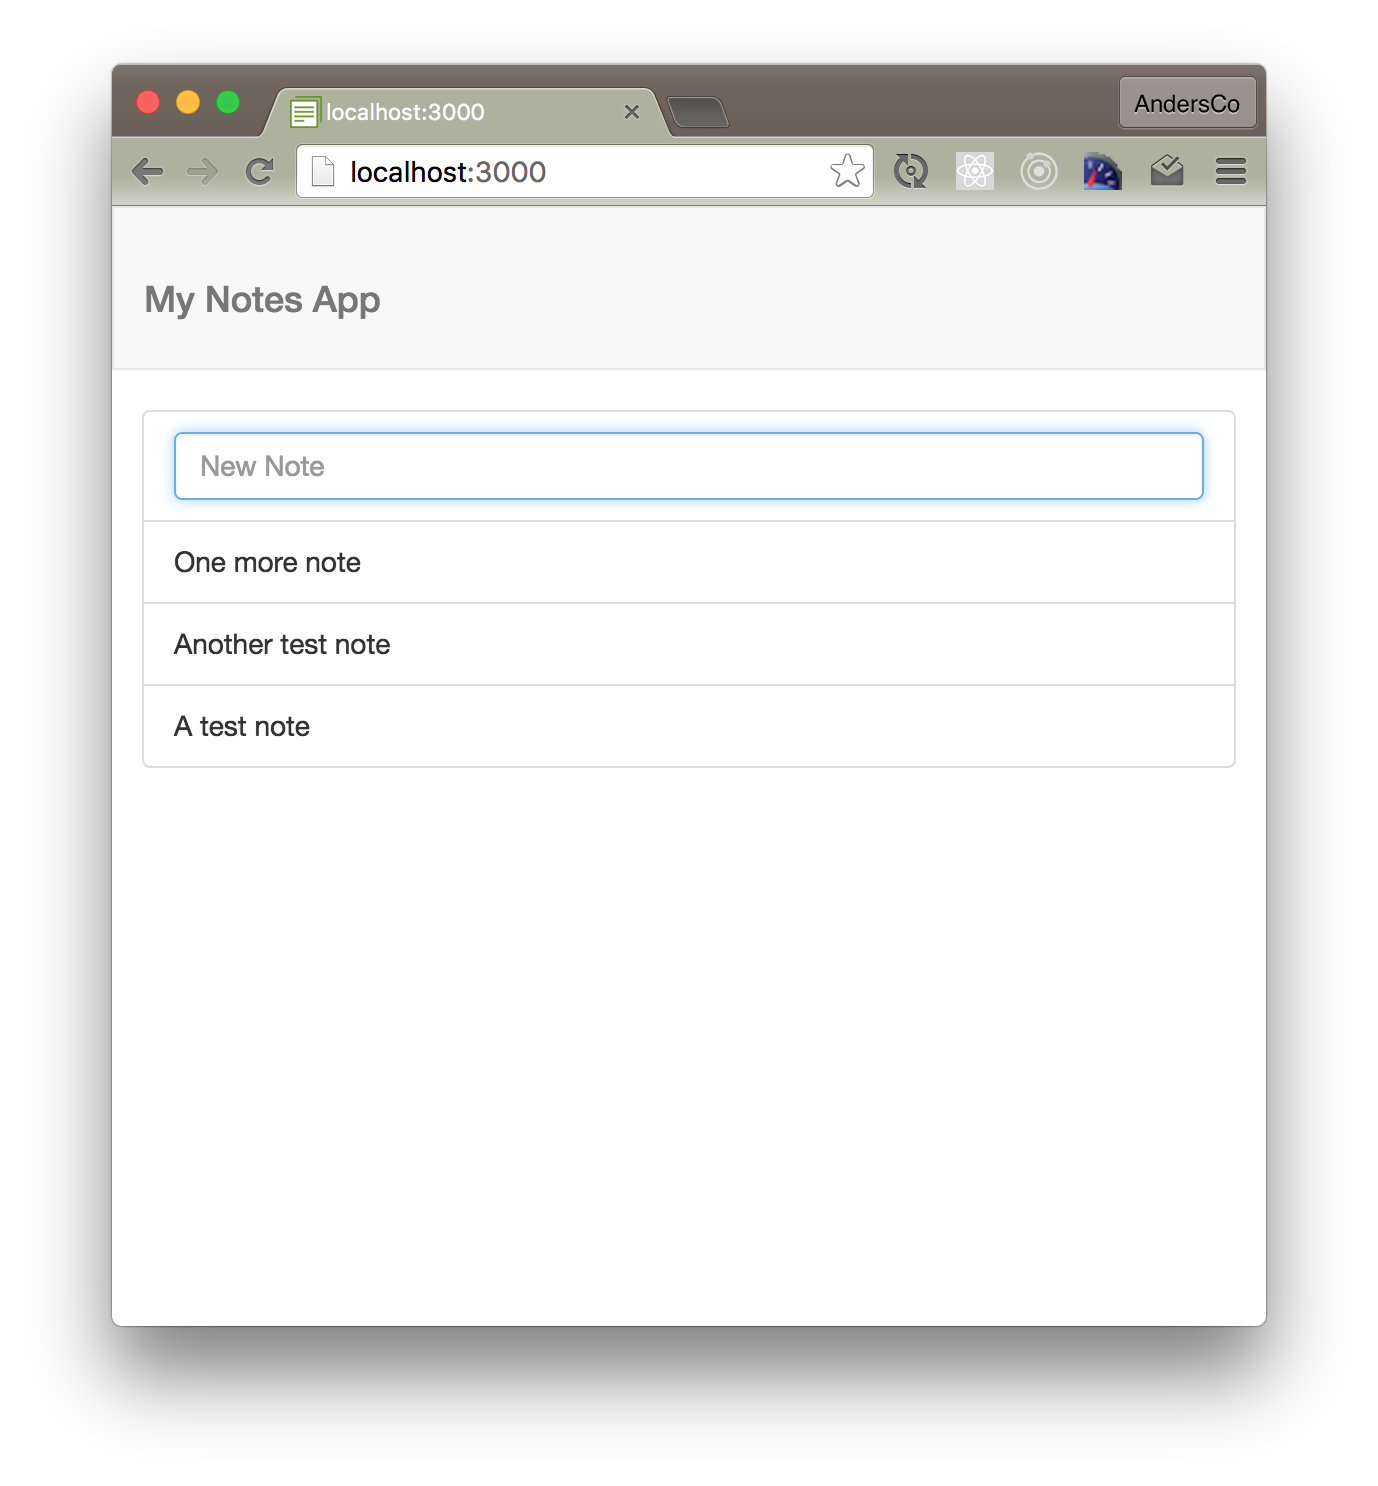
Let's add a list component, that displays new items as we add them, with our new item form on top.
/imports/components/lists/list.jsx
import React from 'react'
import { SingleFieldSubmit } from '../forms/single_field_submit'

export const List = (props) =>{

    return <ul className="list-group">
            <li className="list-group-item"><SingleFieldSubmit {...props} />
           </li>
        {
            props.collection.map((item) => {
               return <li key={item._id} className="list-group-item">{item.content}</li>
          })
        }
  </ul>
}

List.propTypes = {
    collection: React.PropTypes.array.isRequired
}
- What is
{...props}? - What's going on with the use of
.mapandkey? - What's the purpose of
...isRequired?
Update NotesContainer to use the List
We now need to update our container to use the list rather than the form.
...
import { List } from '../lists/list'


export default createContainer(() => {
   ...
    const notes = Notes.find({}, { sort: { updatedAt: -1 }}).fetch()
  ...

  return {
  ...
    collection: notes
  }

}, List)
The app should now update to display your notes as you add them.