Get caught up to this step: Check out branch 02-add-react - see Introduction for info on how to get caught up using branches.
Step 3: Add App Header
Creating the app header component will allow us to create a relatively simple component before getting into more advanced components.
Create a AppHeaderLayout Component
This component should only be responsible for layout and nothing else.
/imports/components/layouts/app_header_layout.jsx
import React from 'react'

export const AppHeaderLayout = (props) =>
    <nav className="navbar navbar-default">
      <div className="container">
        <div className="navbar-header">
          <h1 className="navbar-brand">{props.pageTitle}</h1>
        </div>
     </div>
    </nav>

AppHeaderLayout.propTypes = {
  pageTitle: React.PropTypes.string
}

AppHeaderLayout.defaultProps = {
  pageTitle: "My Notes App"
}
- What are props, propTypes, and defaultProps?
Add the App Header to the App Layout
/imports/components/layouts/app_layout.jsx
...
import { AppHeaderLayout } from './app_header_layout'

export const AppLayout = () =>
  <div id="app-container">
    <AppHeaderLayout />
  ...
  </div>
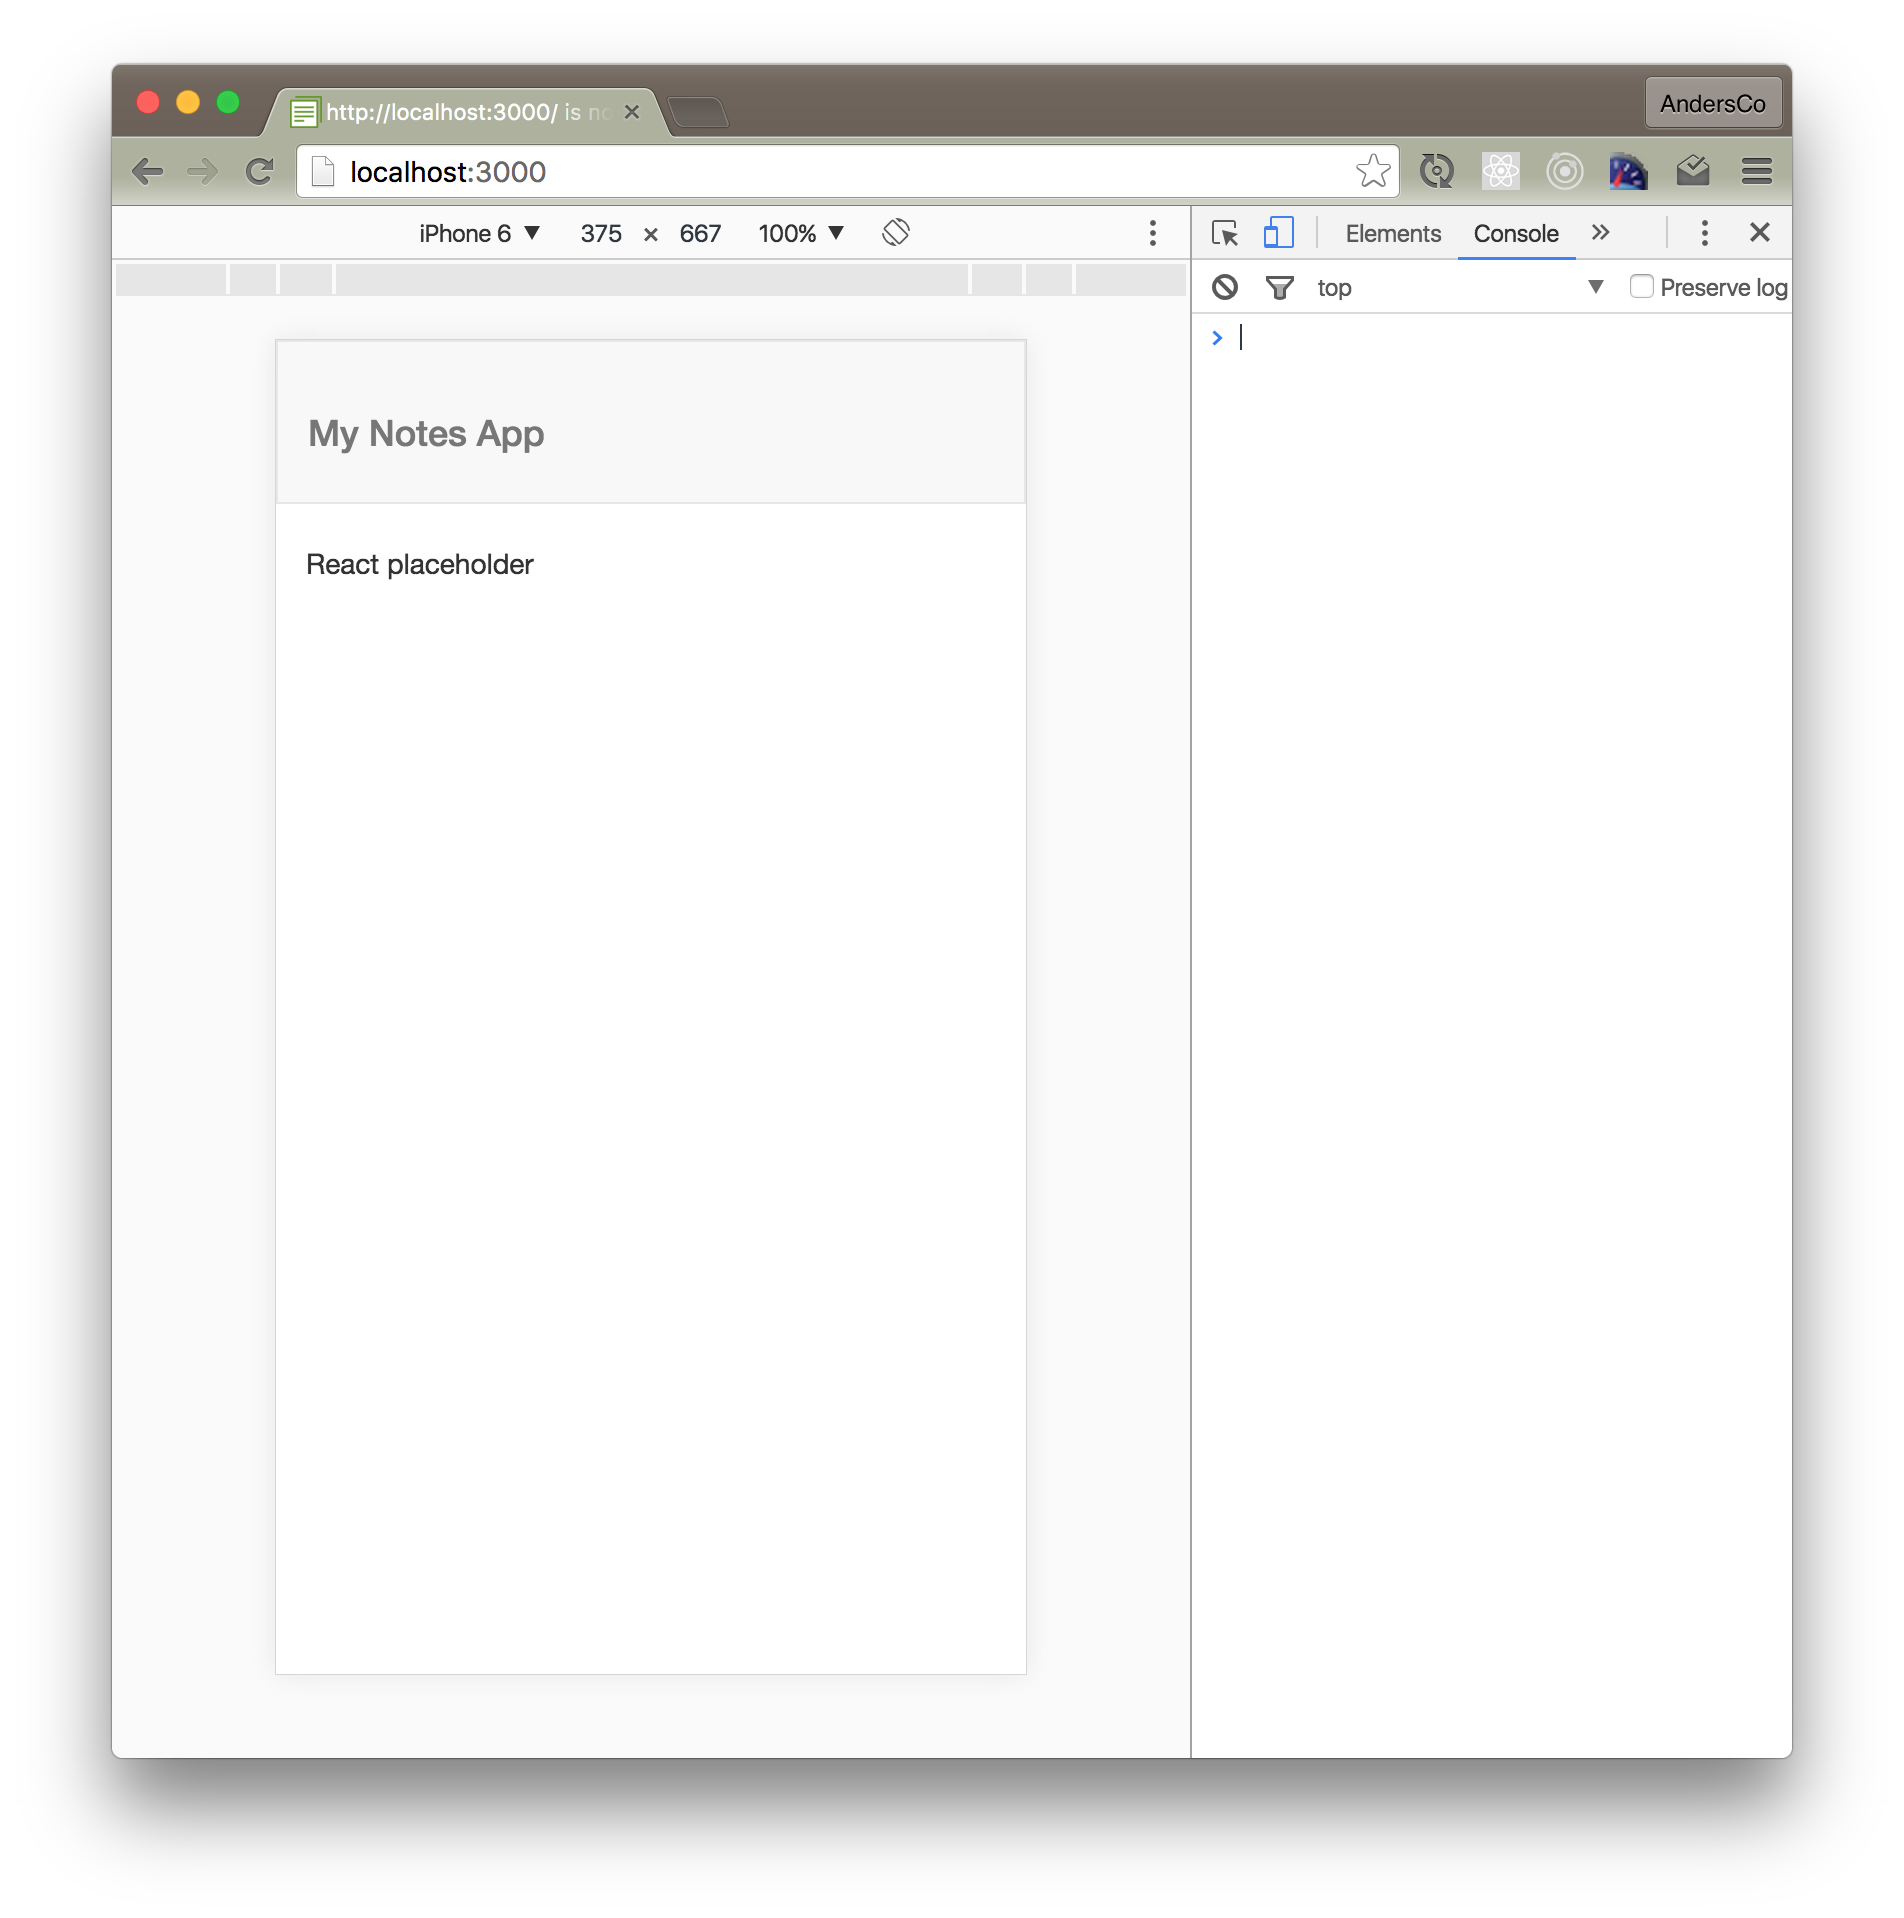
You should now see the app header appear in the browser.

Try adding a custom pageTitle, eg
<AppHeaderLayout pageTitle="My Custom Title" />
and you'll see the page title update.